I found nothing that was funky and fun like me or my jewelry.
I took it into my own hands and decided to make my own.
Below are my simple, no brainer steps to my earring cards...
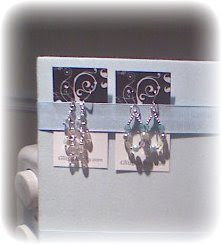 Items Needed:
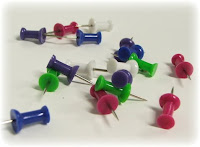 2 Push Pins or Small Nails (Extras if one breaks)
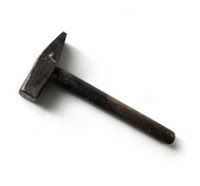 Hammer (smaller the better but not the little tonka plastic ones)
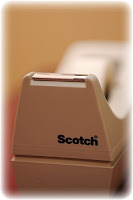 Packaging tape or duct tape
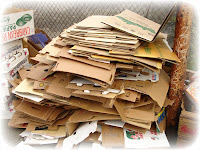
Old outdated business cards or cardboard pieces (stacked to about an inch deep)
Solid surface for hammering on like hmmm a table (not glass please)
Step 1:
Go to VistaPrint.com/overstock
Click on the Premium Business Card Link (They will be FREE + Shipping)
Your card design template will be horizontal. Design your card so it is vertical laid on it's side.
I included some design on at the top and my website at the bottom of the card.
If you order additional items that are not free, enter the code SUMMER or MCFREECARDS for additional discounts (Good as of 7.10.08)
I always choose the slowest shipping and get them within a week.
Step 2:
Wait. Wait. Wait.
They show up in your mailbox or on your front door step.
Rip open the box like it is Christmas.
(It's alright if you do a little dance...I won't tell)
Step 3:
Get some cardboard or old business cards like I used and stack them.
Tape them together with a few layers of tape so it doesn't move around.
We will call this your hammering pillow.
Step 4:
Place your hammering pillow on a hard surface (not glass).
Put your new business cards on top of your hammering pillow. 3-5 at a time should do.
Place push pins, where you want the holes for the earrings to go, on the top business card and gently push down until they stand up on their own.
Take small hammer and gently tap in the push pins.
Pick up the new business cards with the push pins still pushed in.
Push pins all the way through.
Don't make the holes to big or the earrings will slide out. I have found that a push pin size hole works great!
Repeat step 4 until you have enough cards ready.
Enjoy!
Send me your photos of your earring cards. I love to see other's work.


5 comments:
Great instructions! Thanks so much for posting. I am thinking about adding earrings to my shop so this really comes in handy.
Your welcome. I am happy that this tutorial is helpful.
Great instructions! Thank you for sharing!
What a great idea! I am going to try this, thanks!
Thanks. I was just getting ready to order cards that I wasn't happy with! This will definitely work!
Post a Comment